The steps involved in setting up the Visual Source Safe source control for your team are explained below:
Step 1: Install VSS from the setup CD.
Every member in the team must install the VSS software on their computers. The installation is very straight forward just like any other windows installation program.
Step 2: Create a VSS Database for your project
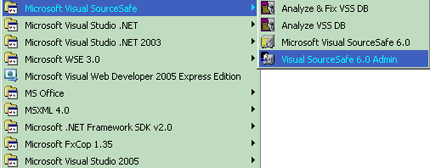
Every team (or product) will need a separate VSS database. This step is done using the VSS Admin software. When you install VSS software, it will install the Admin software as well as client software on your computer. Choose 'Visual SourceSafe Admin' from the start menu.
When you launch the admin software, it will automatically connect to a default database called 'Microsoft Visual Studio'. This is the name of a database automatically created on your computer when VSS is installed. However, usually nobody use this vss database for any purpose. Instead, after connecting to this default database using the VSS Admin tool, you will create a new database for your team.
To create a new database, go to the 'Tools' menu and select 'Create Database'. You will be prompted to browse to a folder to create the new database. All you have to do is, select a folder and press 'OK'. This will create a new database.
Even though this process created a new database for you, your VSS Admin tool is still connected to your default database called 'Microsoft Visual Studio'. To connect to your new VSS database, select the 'Users' menu and select 'Open SourceSafe Database'. This will show you a small dialog box with the list of previously connected databases. Since you have not yet connected to your new database, it will not be listed. So, press the 'Browse' button to search for the new database. Using the folder browser, you can navigate to the folder where you just created the new database. Inside the folder, you will see a file called 'SourceSafe.ini'. This is the database file you need to connect to. Select this file and press 'Open'. This will connect to the new database.
Step 3: Create users
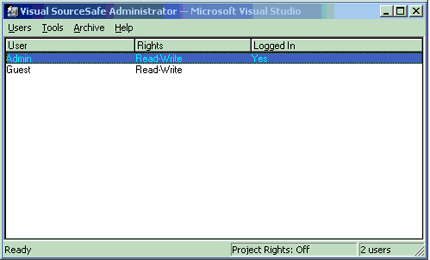
After you connect to the new database, you will see the list of available users. There are 2 users created by default:
Admin
Guest
Delete the Guest user. You do not want other people to connect to your secure vss database.
Also, change the password for admin user. By default, there is no password for this account. To change password, select 'Admin' user in the list and select 'Change Password' option from 'Users' menu.
Now, select 'Add User' from 'Users' menu. This will show a dialog box where you can specify the user name and password.
If you are part of a "domain" in your company network, remember to choose the user name same as the 'network login id'. Password can be different. If you choose the vss user name same as domain user account, the user will not be prompted to enter password each time they try to connect to VSS from their computer. Create a user for all members in your team. When you create users, leave the database as blank. Each user can connect to this database and then change their password.